You are using an out of date browser. It may not display this or other websites correctly.
You should upgrade or use an alternative browser.
You should upgrade or use an alternative browser.
63 Pinner Hightop
- Thread starter John ED Renstrom
- Start date
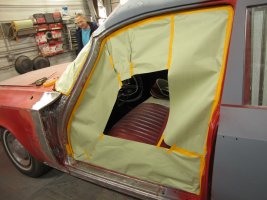
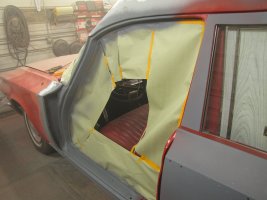
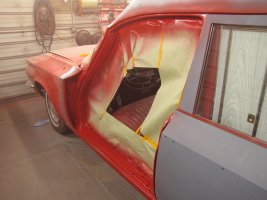
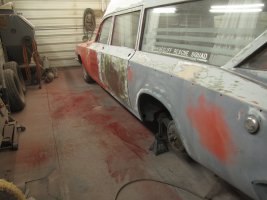
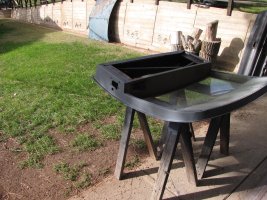
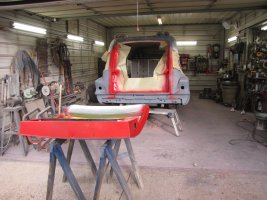
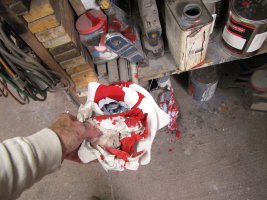
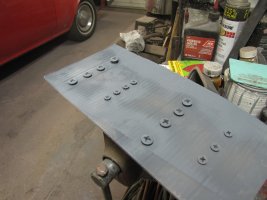
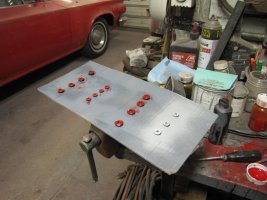
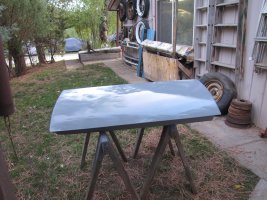
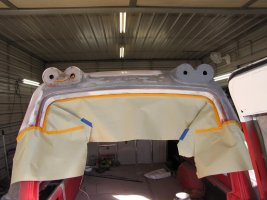
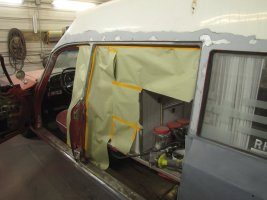
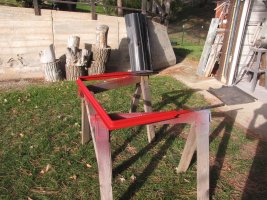
It sounds like the weather is going through another change for a while, and we might even get a freeze on Sunday. Been getting into the 40s at night and 80s by afternoon. So we need to get this rear door jammed so we can get it back to gather and move the car. If we do it inside, we have to move the car out, don't want to do that in the rain, so it's now or wait for the rain to pass. First, let's get some primer on the bare spots and sand the door down. Then the jams. Then run some paper to control what gets red. The big thing is the plexiglass windows. Then we can spray some red. The hard part is that first pour out of that full gallon can. When you get done mixing red, the place looks like a butcher shop. The rest is easy. Got painted what we wanted to and the hinges. Don't forget the screws. We can touch up what we scratched after we go back together.
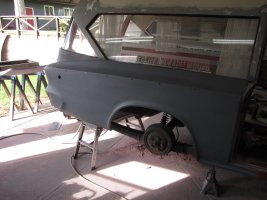


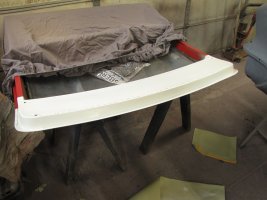
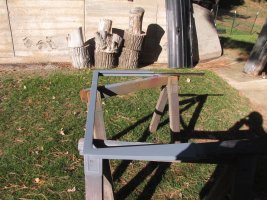
Snuck in last night and applied the white to the door, so it's ready for the weather seal today. Got it on and started bolting the hinges in place. I worried about mixing them up. Even marked them, it's kind of a metaphor of life worrying about something that can't happen. I didn't notice this until I put them back in. They had shims in them on the jam, but not under the bolt inside the pocket. So we dug around and found enough to buy them all in 1/8 on the bottom and 1/16 on the top. Had to lower the car to get the door high enough to slide it back on the hinges. The tricky part is getting it off the sawhorses and onto the jack. They had a set of shims on the lower hinge; we'll try it first without them. Swing the door closed, and it hangs over on the top left and is tight on the bottom. We removed the shims from the top hinge and inserted a set between the mount and the hinge on the lower door side. Kick the bottom out and pull the top over to the right. Now we get the door to go into the hole with a good seal. Surprisingly, a 1/16 of an inch can throw you off. Put the latch back in, the striker on, and the door closed!! Now, what? So, I opened it again, picked up all the tools, and put them away, then went in to fix supper.
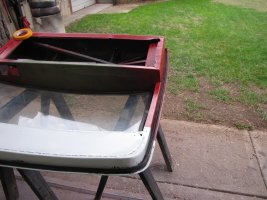
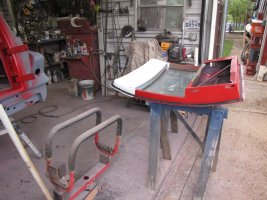
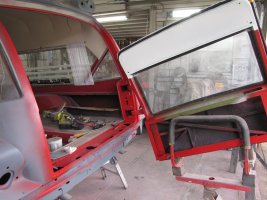
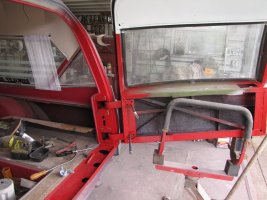
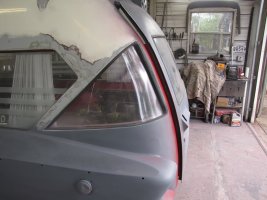
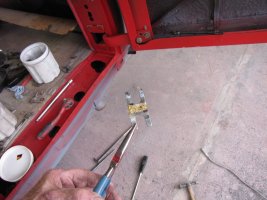
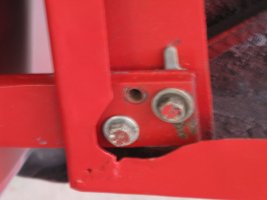
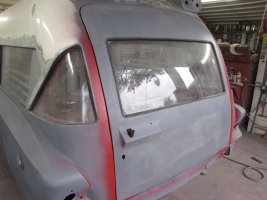


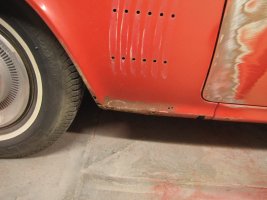
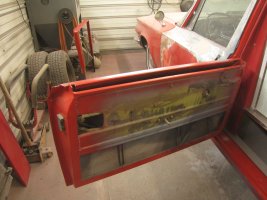
The first thing we did today was check the weather seal.is riding on the jam. Across the top and around the corners, it is falling inside the jam. So we taped the lip up and shut the door, then cut the tap loose. Looking in with the light, the lip is now lying flat against the flat of the jam. All the way around. We can give it a few days to settle in. Now for this center door. Some strange construction here. I wanted to take the latch out to clean it up, but I found out I couldn't without removing the top of the door. Found all the bolts holding things together easily enough. And it was loose, but I could not remove it with the glass in, so I needed to get it off to get the glass out. Realized the front post is tapered so that as it went up, it got tighter on the glass. Therefore, the glass must be removed along with the frame. Found out they held the glass to the riser with clips. The face came out instead, where you could see them; they were pried out, the glass was pulled up, and things came apart. Normally, a glass like that is rolled all the way down, the frame is pulled off, the glass is raised until it clears the door, and then it is removed. This one has to be up in the frame. The other door will be easier. We need the door off to paint the jam that needs it. Look at the door under the lower hinge. You can't save them if you don't do it all. So, might as well use up all the paint I bought.
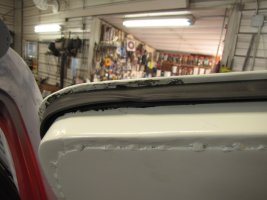
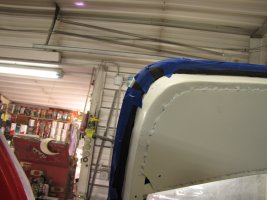
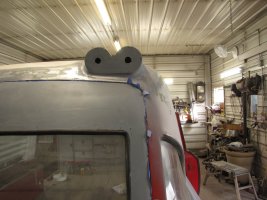
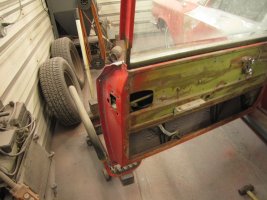
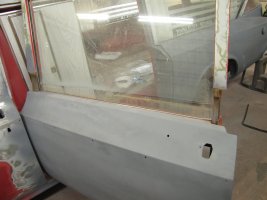
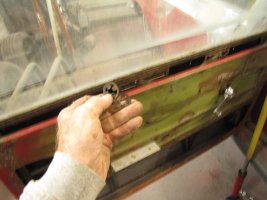
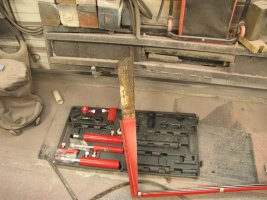
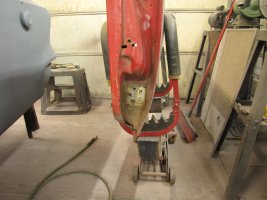
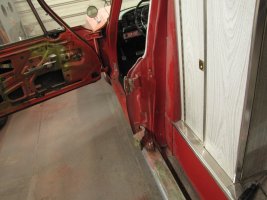
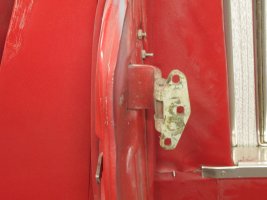


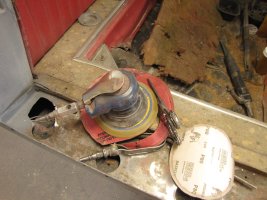
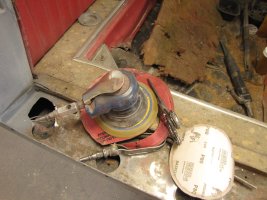
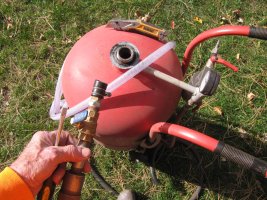
So today I decided we had best do it now if I'm going to sandblast the door jam. It would go a lot faster if I had repaired the discharge hose the last time I used it. A trip downtown and a half hr work for a 5-minute task. But it cleans things off slick as can be. We have a small spot to repair before we can prime the area. If we have time, I'd like to run the skin over with some 80-grit and re-prime it. We'll work on the door opening between things. Just to keep busy.
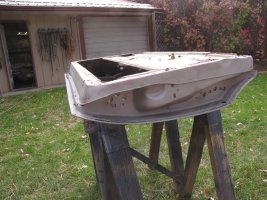
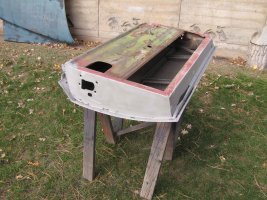
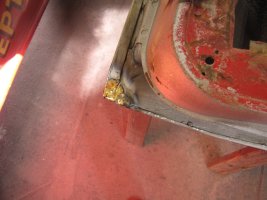
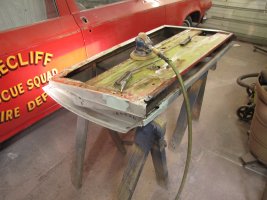
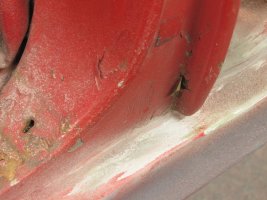
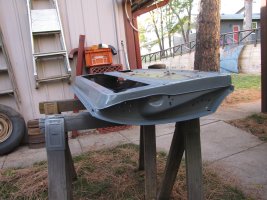


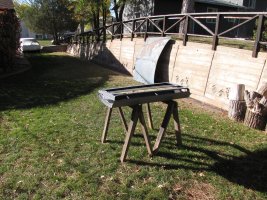
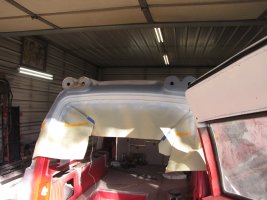
Completed a couple of tasks today, including applying white paint to the rear door jam and red paint to the inside of the center door. So we can be ready to go back on when I get the jam cleaned up. Started on the top of the door, it was that or the jam. The top went better than I thought it would, but we found some rust under the weather strip. It was bad enough that we coated it with a converter. We found that one of the sash strips is rusted out on the bottom, so we will need to replace it. We can get this primed tomorrow after the converter has had time to work.
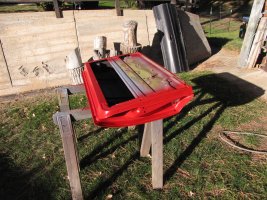
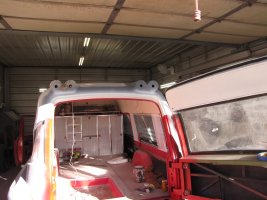
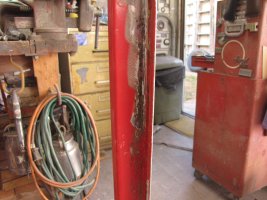
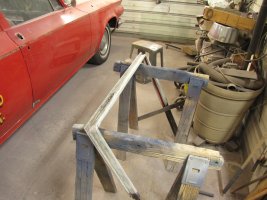


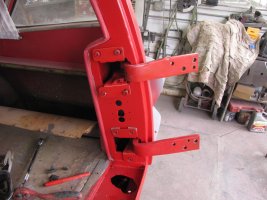
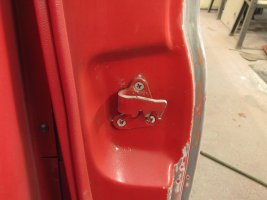
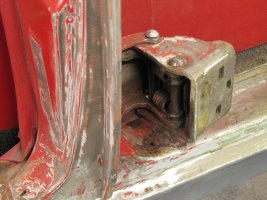
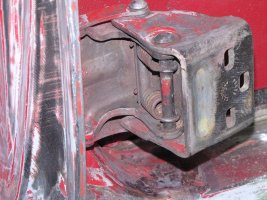
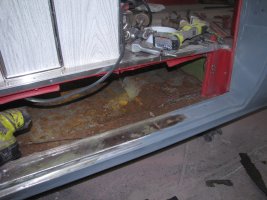
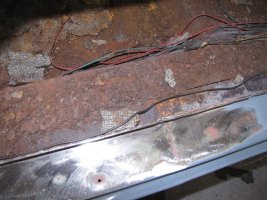
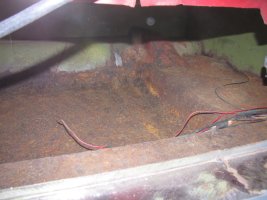
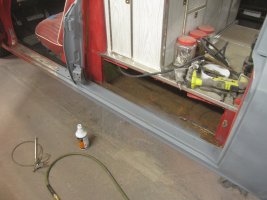
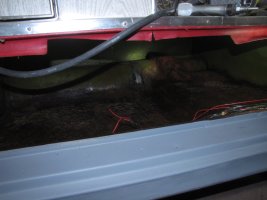
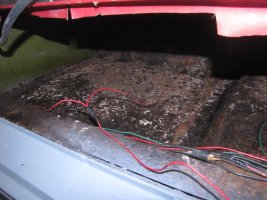
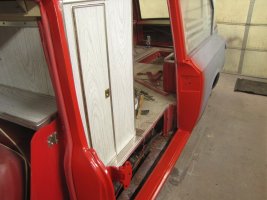
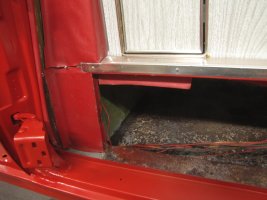
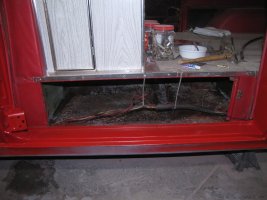
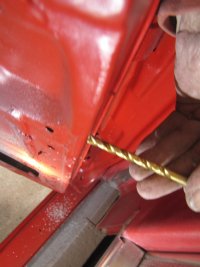
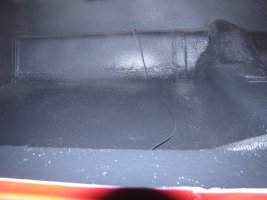
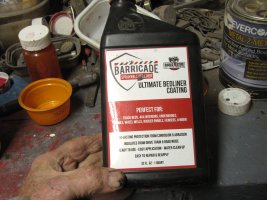
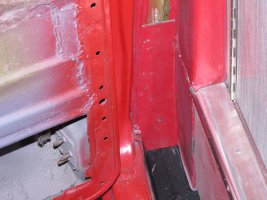
Had a big surprise today. But all is well that ends well. The upper door converged nicely. So we got the inside primed at least today, had to wait till we were going in, as the temperature dropped today, down in the 50s, got the center door jam cleaned up. The hinges were something else; someone had them covered with grease. The only way to clean them was with thinner. So cleaned them and prepped them at the same time. We are going to paint both sides of the B pillar this time. We can blend in the paint when we do the front door. Doing the doors one at a time is a little slower, but I don't have the space to pull them all and spread them out. So it's one at a time. At least there is no excuse for losing any parts. We marked the corners of the door striker with a drill bit. After taking the door off and putting it back in, this may only be a starting point, but it's a good guide to get things back to where they worked once. Notices were made about a little rust between the door for the spare tire, the optional cabinet, and the sill. Made the mistake of looking under the brittle rubber rug. Whatever they put in there for insulation cushion is nothing but flakes amuck, the rust. The door is leaking, and it has allowed water to run into the low spot, with no apparent way for it to escape except through evaporation. Beat around, knocked everything I could loose, and vacuumed it out. The floor is still solid, no holes or weak spots, so it was mainly surface rust. Got a plan on how to salvage this. I primed the door jam first, then we opened the door to let in fresh air, donned my mask, and coated the compartment with the rust converter. Used the siphon sprayer to get decent coverage. We'll give it 24 hours to get a good conversion, then coat it with a bed liner. That will provide the compartment with a waterproof coating that resembles the rubber rug. We can put the wiring into a conduit to protect it better than hiding it under the rug. That's the plan, subject to change if conditions change.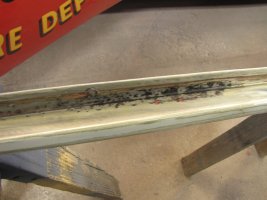


Last edited by a moderator:
That area under the floor was always a wet spot that I couldn't locate the source of the leak. The solution was to leave the car in the sun with the door open to dry it when it got wet. If the car hadn't leaked water, it would have leaked carbon monoxide through the back door. Coming home from Flint, it got cold, so I couldn't drive with the window open like when I drove there. I couldn't figure out why I was so tired and had to stop to rest every couple of hours. A few weeks later, I attended a car show, and on the way home, the same thing happened again. That is when I realized the problem. I learned that the problem was the back door and the way that the exhaust was routed. I also realized that the sliding window behind the seat was open. I closed the window, cracked open both rear door windows, and the problem went away. I loved the car, but hated driving it some days because it was so difficult to see out the back.
Got a window today, so let's take advantage of it. We can prime the outer top of the door, and while that is setting up, sand the jam on the center door. When we got done, I dumped the water into the compartment and used the broom to scrub down the walls and floor. You need to clean the converter off and place it so that it does not rust. Discovered there is a drain that dumps into the rocker and out. So it should be safe once we get it coated. Papered things off and made them red. Then, I cleaned up the compartment door opening, preparing to clean the floor.


Last edited by a moderator:
So tell me again why I took this door apart only to put it back together and back on the car. Strange business. We fill the lower pinch weld in the back door with seam sealer before painting it. Went and plugged the drain holes, as they are located on the inside of the door seal and drain into the car. No sense in that. Before we hung that door, we painted the compartment with Rustoleum to give us a good base for the bedliner. Shot the floor in the center of the door as well. Then hung it. Found out why they hammered the door frame so big. The lower jam switch sits higher than the upper one. Causing the door to rock against it. Had to drill a hole in the mud so it would close decently. Reassemble the glass in the frame and tape it in place so we can slide it back in place. Went together a lot easier than it came apart. We can finish the rear door tomorrow.
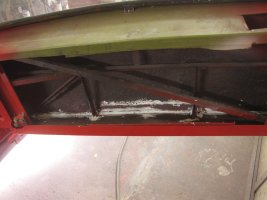
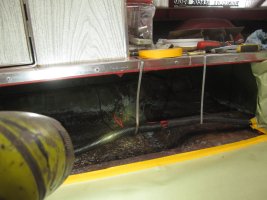
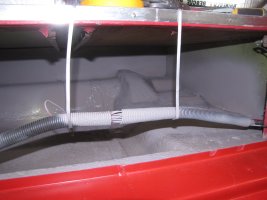
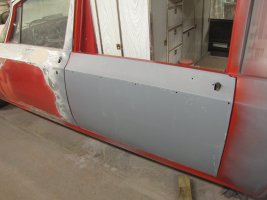
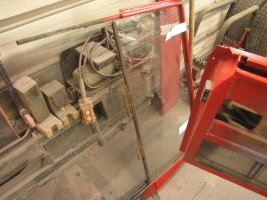
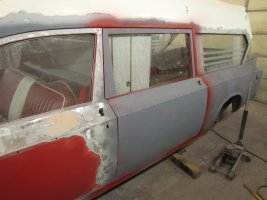


We're not going to talk about the guy who, in his haste, forgot to put the piece that goes on first. But it's on now. You know the story of one broken bolt away from a week's work. It wasn't a week, but a good hour later, I got the window glass pitch adjusted. We snapped it off with a 1/4 drive. Then the boss chooses this time to inspect the work. Life goes on. Shot the bed liner in the compartment. Trust me, it's black. This stuff has been the best I have ever used. Water-based, so easy clean-up goes on easily, and once dry, it's some tough stuff. Got the primer on the rear door first thing, so we can now weld the latch panel back in place. At this point, we could put the trim pad back on, but let's wait till we get the flooring changed before we do that.
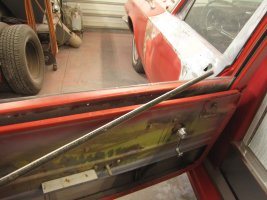
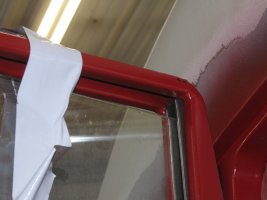
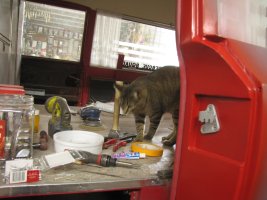
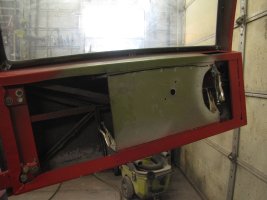
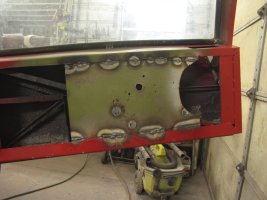


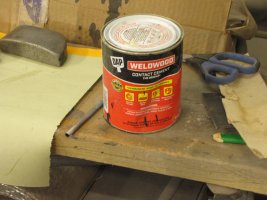
Light day today, picked up some odds and ends. Tossed what was good of the rubber mat back in the hole, got the switches back in the rear door, and made a new cardboard backer for the front side panel. Figured out where the water was getting inside. It was coming in through the rusted-out wheel well. There is a hole in the front panel through which the quarter would drain into the compartment. Hopefully, fixing the wheel well will stop that. Then we replace the new cardboard with the rotten one. We can put that one in tomorrow. I have always used the Weldwood contact cement for this kind of thing. It's readily had and works. Just remember to put it on both items and let them set up before sticking them together. Great sunset tonight.
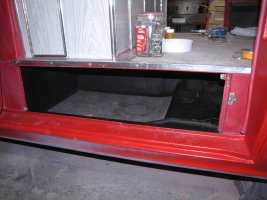
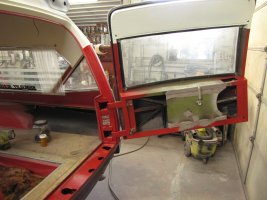
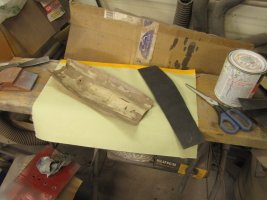
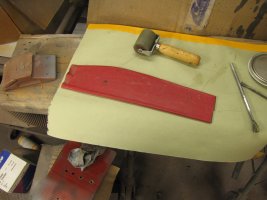


As I have often said, the only way to complete a project is to do at least one thing a day. Some days, that's all you get to do. Some parts arrived today, along with some samples. One should learn to trust one's instincts. I did order the right part. We needed one more run sash to get this center door glass in. They had spliced one, and the largest piece was damaged. With the way it was assembled, I placed the good ones on the sides, because once it's together, the top one would be the only one I could put on. So now it's together. The small interior piece I re-cardboarded is in, and we are stiffening the larger one. They put them one with rather long screws on one piece of steel. So they pushed each other up. We can do better. The weld wood is the only way to go.
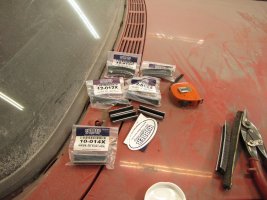
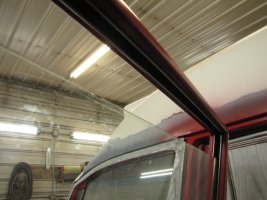
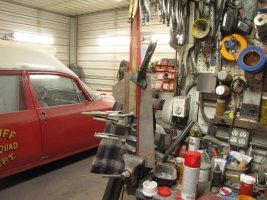


The interior piece came out pretty good. Looks nice and flat. Now, if we sprayed with some vinyl top cleaner, but let's not get ahead of ourselves here. I'll use some short screws to put in. I removed the front door and found some unusual items inside. The wing window is missing a screw in the center. When I roll the glass down, it falls out of the run channel. They did stretch the doors around 10 inches, but most likely left a problem in the rear. We can deal with it when we reassemble things. Go it stripped with enough time to sandblast the jams and the top hoop. I re-glued the trim inside the door and found a screw for the top one that broke. Just a little stuff today, we can get the door in primer tomorrow. Then let it sit and get it jammed. Had to get the spare tire out, haven't seen this tread pattern in a long time.
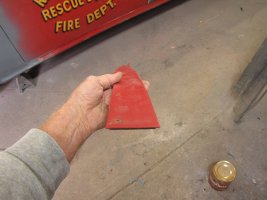
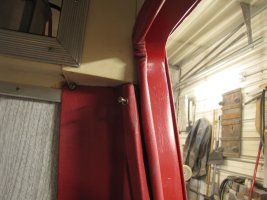
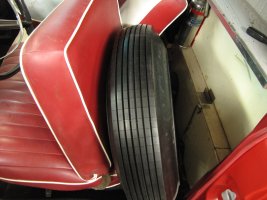
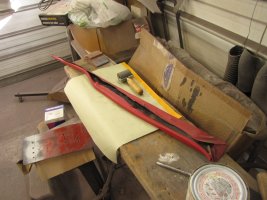
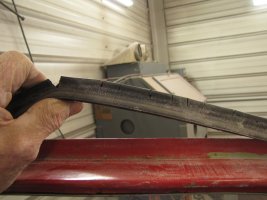
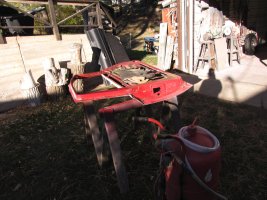


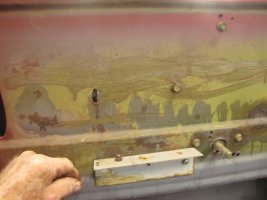
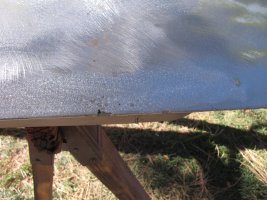
Got one more warm day. So let's move outside while we can get this door stripped and primed. A lot of lead was used on the door. The problem with the sharp edge is that it is easily damaged. We get a chance might paint a little red. Got the hinges off so we could clean up that pocket. You can tell it came from New York; the factory doesn't paint under the tags. They simply apply it to the body, and then it is painted. But we'll get it cleaned up in there and add a little paint. Put that trim piece back on; the best place for that stuff is where it belongs.
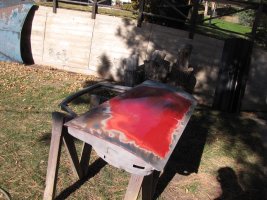
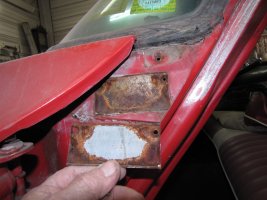
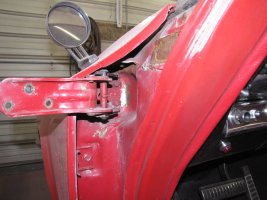
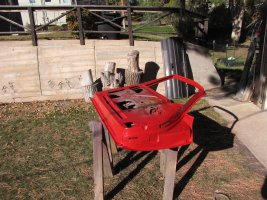


That body tag was applied at the assembly plant, and I am not certain where the car was assembled before it was sent to Pinner for the conversion. When I first went to look at the car, the tag was missing. When I picked it up, it was miraculously found inside a repair manual. The Doctor who owned the car told me that the "mechanic" who worked on the car for him removed it to take to the auto parts dealer when he needed repair items. He wasn't willing to give the book to me, saying that he had to return it to the mechanic. He also removed some other trophies from the car, such as the dedication plaque that was originally on the right side of the roof. I believe that Nick eventually got everything from him that was removed from the car. The only thing that I have that I know of is the Reeves Stretcher that I have in my 1962 Chevrolet.
The car was in terrible mechanical condition, and whoever the mechanic was who worked on it lacked significant experience with repairing cars of that vintage. He literally destroyed the rear axle, attempting to remove it to repair the brakes. I was fortunate to find a complete rear-end assembly at a local salvage yard, and with the assistance of Sandy, we successfully installed it, replaced all the brake wheel cylinders, new brake linings, and hoses. Even after being repaired, where Pinner cut the body for the stretch and cut the brake line, extending it with copper tubing, ferrules, and compression nuts. I performed a mid-section replacement of the brake line and replaced everything from that point rearward with the correct materials and double flares. I also had to do the front brakes, replace the power brake booster with the correct one, and rebuild the master cylinder. When I removed the water pump, I found that it was the cause of the car's overheating. The impeller had become loose on the shaft, and even though the shaft was turning, the impeller wasn't. I don't believe that there was any mechanical part on that car that wasn't either rebuilt or replaced, with the exception of the engine and transmission. Both of those required resealing, and I handled the engine, while a friend who used to work for a Chrysler dealer took care of the transmission. I have no idea what parts were needed for the resealing and reconditioning of the transmission. I only remember that it was very costly for parts and labor. I spent many hours looking for New Old Stock parts for that car, since I wanted it to be reliable for the trip to the International Meet in Flint. The car made the trip without any issues and returned home again. I believe the round trip was approximately 3,200 miles. At the time, I had a Christopher Columbus GPS. It took you around the world and got you lost many times. That trip convinced me to use a Rand McNally atlas to map out the route and use the GPS as a backup.
The car was in terrible mechanical condition, and whoever the mechanic was who worked on it lacked significant experience with repairing cars of that vintage. He literally destroyed the rear axle, attempting to remove it to repair the brakes. I was fortunate to find a complete rear-end assembly at a local salvage yard, and with the assistance of Sandy, we successfully installed it, replaced all the brake wheel cylinders, new brake linings, and hoses. Even after being repaired, where Pinner cut the body for the stretch and cut the brake line, extending it with copper tubing, ferrules, and compression nuts. I performed a mid-section replacement of the brake line and replaced everything from that point rearward with the correct materials and double flares. I also had to do the front brakes, replace the power brake booster with the correct one, and rebuild the master cylinder. When I removed the water pump, I found that it was the cause of the car's overheating. The impeller had become loose on the shaft, and even though the shaft was turning, the impeller wasn't. I don't believe that there was any mechanical part on that car that wasn't either rebuilt or replaced, with the exception of the engine and transmission. Both of those required resealing, and I handled the engine, while a friend who used to work for a Chrysler dealer took care of the transmission. I have no idea what parts were needed for the resealing and reconditioning of the transmission. I only remember that it was very costly for parts and labor. I spent many hours looking for New Old Stock parts for that car, since I wanted it to be reliable for the trip to the International Meet in Flint. The car made the trip without any issues and returned home again. I believe the round trip was approximately 3,200 miles. At the time, I had a Christopher Columbus GPS. It took you around the world and got you lost many times. That trip convinced me to use a Rand McNally atlas to map out the route and use the GPS as a backup.
Knew you did a lot of mechanical things to the car. It still runs, stops will handles nicly. In all the time the car was painted they never did the jams. So it is time to do so. What i was showing here was don't forget to remove things because there are places the factory doesn't get.
If you want to fool someone into thinking that it is all factory paint, then leave the rust under the data plate and just spray over it. I won't tell if you don't.
Nope, got it cleaned up in there already. Got a few more parts in when I got back from my trip down South. The weather seal came in, so we got it put on the center door. I have no idea what Pinner used. I wasn't in the book, so we got stuck in the car. Seems to do the job just fine. Got some of the front door hinge pocket cleaned up.
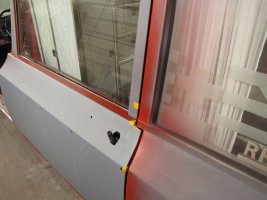
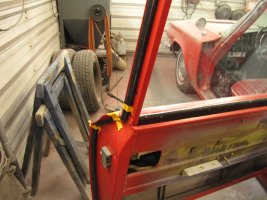
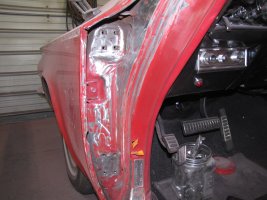


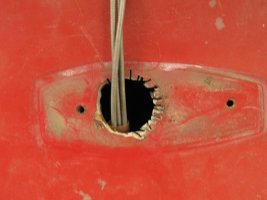
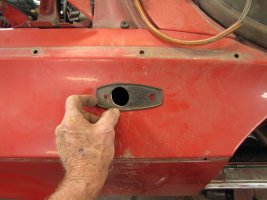
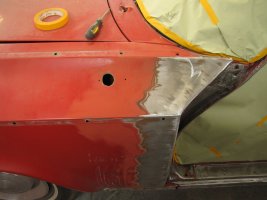
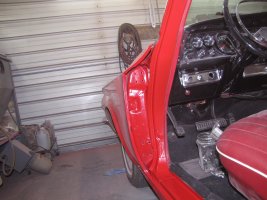
A little confusion today. Went to take the mirror off the left fender. Couldn't pull it through the hole in the fender; the end was larger than the hole. There is a double plate; the mirror is or should have been screwed through. There was only one screw holding it on, and the other missed the hole. Discovered they were drilled too close together. So that will be an easy fix. Had to grind the hole bigger to get the mirror off. The grommet provided the template for the size. It worked. Finished sanding the door jam, peeled back the edge of the fender to give us some room. Discovered the fender is painted twice below the molding and 3 times above it. Seems like the car has had one repaint and a lot of touch-ups all around. We got the jams papered off and primed. Let it set up so we can scotch pad it down and shoot some red. Might get the front door hung tomorrow. The it two more to go.
