1976 Superior 54XL Restoration Log

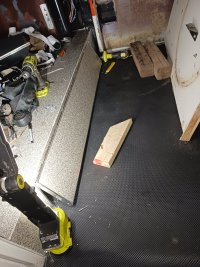
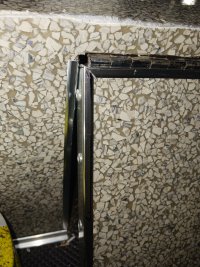
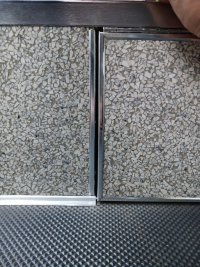
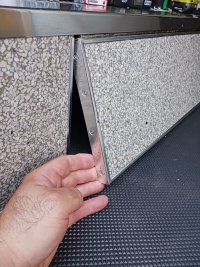
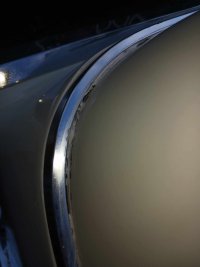
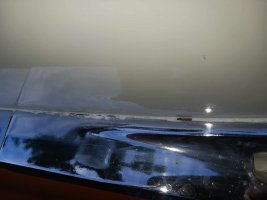
Ran into a snag with the instalation of the M cylinder compartment door. I decided to use rivets instead of screws to hold the trim in place without thinking that the thickness of the new trim is about twice the thickness of the old trim and that is just enough difference to make the rivet heads hot the outside trim.

Will be taking the door off tomorrow, removing the offending rivets and contersinking screws in their place.20230724_212651.jpg20230724_212643.jpg
 
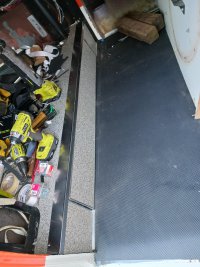
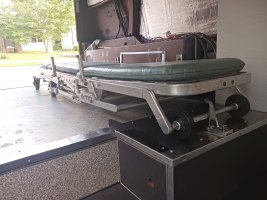
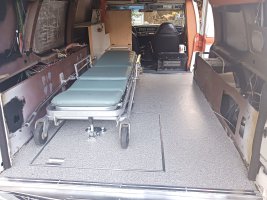
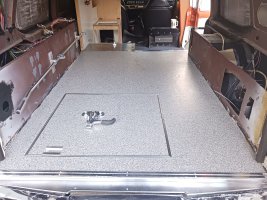
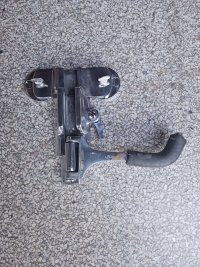
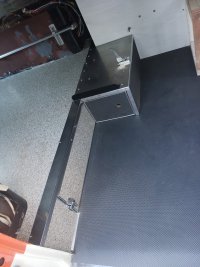
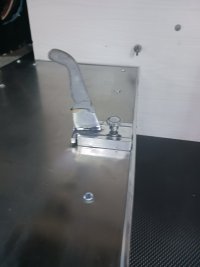
I am finally done with this part of the floor. Polished the cot hardware so it looks like new. The only thing left to do is to find some grey plastic dip to restore the grey tips on the hardware.

20230730_202917.jpg20230730_202852.jpg20230730_202755.jpg20230730_202748.jpg20230730_202648.jpg20230730_202653.jpg
 
nice old 28 with the proper hold down
J-M, as Ed says, well done. I never understood how the head of a 28 was to be fixed in the car. It was not present when I got it from Bruce, and presumed it must have been a late change, with a 30 have been used for its active service. Nice to see you have the 30 option also in place if required.
Great job!
I do not think that the car ever had a Model 30 stretcher. In one of the pictures that shows the car when it was in service, it did have a Model 28 in it.

There are no holes (except the ones that I made this year) that accommodate the stretcher bar for the Model 30.

It did have a homemade bracket for the head of the 28, I removed it and replaced it with the OEM head bracket since I had a couple of them.

Once I have the cabinets in place I will affix the Model 30 stretcher bar so I can carry the transport incubator which is on a modified Model 30 stretcher. This will also give me the option to carry a Model 30 stretcher just to change things around once in a while.
 
I like the 28 they were a sooth working cott. But i did not want to put the mount on the floor of the 72. As the one i have is to new a modal. So i cut down a side mount bar to hold it in place. Worked good
 
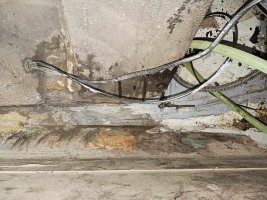
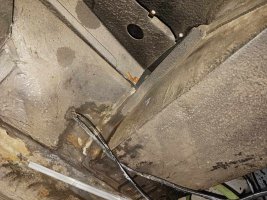
Progress on the car has slowed down a little as I am working on addressing issues with water coming in from the seams where the fiberglass meets the metal or other fiberglass parts.
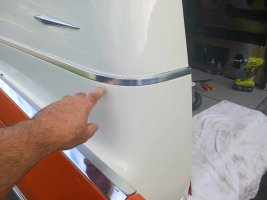
Trim 03.jpg

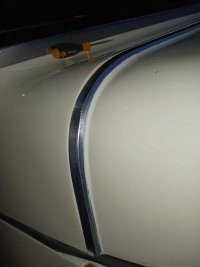
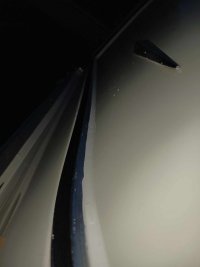
Taking a closer look from the inside, we can see daylight, so I removed this piece of trim and the same one on the other side.
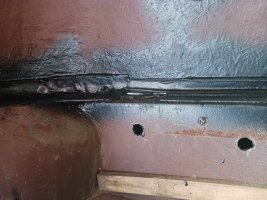


Trim 04.jpg
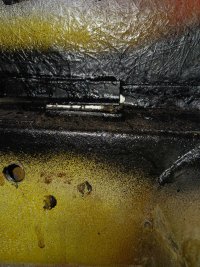
As you can see above, I also drilled holes in the rectangular channel to see if I water is coming in somewhere in there. I will have to resolve the issue above first and then assess that part after.

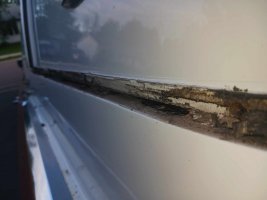
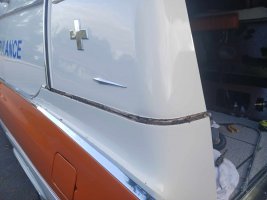
After removing the trim pieces it was easy to see that there were a number of places where water could come in. I removed all of the old sealant and replaced it with new sealant and reinstalled the trim.
Trim 01.jpg


Trim 02.jpg

Sealant apply from the exterior wall seeping into the interior. Most of these gaps are now filled.
Trim 09.jpg


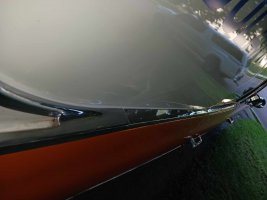
Once I reinstalled the trim, I applied a bead of sealant in the gap between the top of the trim and the car.
Trim 07.jpg

I tested it today and water is still coming in. I'd categorize it as seeping in vs dripping in as it did before. I realist that I will not be able to stop it 100%, but I want to mitigate it as much as I can. Once the squad bench and the cabinets are back in, these areas will be totally inaccessible.

The plan is now to use Flex Seal with a straw similar to the WD-40 straws to reach "behind" the panels and internals channels and hopefully parch where water is coming in.
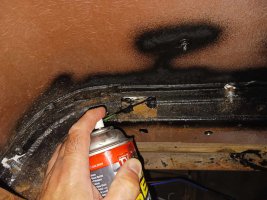
Trim 08.jpg

I will be coating the inside of the quarter panels with copious amount of Rust Check and instruct the Rust Check folks to spray inside there when I get the car undercoated. I may also drill a couple of holes on the inside of each quarter panel assemblies to allow for water to drain out.
 
It has been the problem with every Superior i have worked on. The caulk they used has dried out. As you say you need to gut the car to get to them.
 
I screwed-up!!

This evening I was planning to hit the inside of the trim area with Flex Seal as mentioned above, but when I looked status of the sealant I realised that I screwed-up. My guess is that after apply the sealant last weekend, I cleaned-up the area with sealant remover. Although I thought I was careful, I guess I was not careful enough and some of the remover got in contact with the new stuff and just dissolved it.

Take 2 07.jpg
Take 2 06.jpg

So I cleaned up this mess on both sides of the car and applied new sealant.

Take 2 04.jpgTake 2 05.jpg

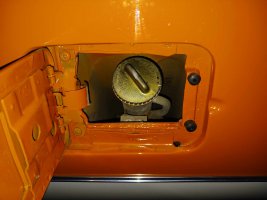
Since the car was outside and it rained last night, I had to deal with water in the quarter panel again. This is not an entirely bad thing, because I found another point of entry for water. It looks like water is also coming in from the gas filler tunnel.


Take 2 01.jpgTake 2 02.jpgTake 2 03.jpg

I hope to be able to hit this one from the inside of the tunnel to stop the water from seeping in.

As much as a PIA this is, it will, at the end, mitigate this issue from reoccurring and hopefully keep the rust away for a few mor years.
 
I wasn't aware tha t you were using Flex Seal for the repair otherwise I would have mentioned this earlier. I have a friend that used Flex Seal in several of his projects, and after a few years it started to fail and he had water intrusion again to deal with. Then he used a 3M product that was similiar to to the black caulking that GM used and it has held up ever since. It isn't as easy to apply as the Flex Seal, but it worked better in the end. I only knew about this because I asked him for help sealing the holes that hold the molding on the roof of my car, which I couldn't get to the backside of because there was a metal support blocking access, so they had to be sealed from the outside.
 
I wasn't aware tha t you were using Flex Seal for the repair otherwise I would have mentioned this earlier. I have a friend that used Flex Seal in several of his projects, and after a few years it started to fail and he had water intrusion again to deal with. Then he used a 3M product that was similiar to to the black caulking that GM used and it has held up ever since. It isn't as easy to apply as the Flex Seal, but it worked better in the end. I only knew about this because I asked him for help sealing the holes that hold the molding on the roof of my car, which I couldn't get to the backside of because there was a metal support blocking access, so they had to be sealed from the outside.
The element-facing side is sealed with the proper products. The Flex Seal will be used for those places where I cannot get to otherwise. I will then have the rust-proofing guys spray inside the quarter panels when I do the regular rust-proofing.
 
it does appear that the flex seal might not be as good a produced as the hipe. a water based 50 year exterior calk has served me will for a long time.the nice part is in the places like your showing like the back fill on the belt line molding you can lay a bead on. use a wet paint brush to soften it and it will run into all the crevices. then before it sets up you can wipe off any excess or drips with a wet rag. get the printable kind just in case.
 
it does appear that the flex seal might not be as good a produced as the hipe. a water based 50 year exterior calk has served me will for a long time.the nice part is in the places like your showing like the back fill on the belt line molding you can lay a bead on. use a wet paint brush to soften it and it will run into all the crevices. then before it sets up you can wipe off any excess or drips with a wet rag. get the printable kind just in case.
I wonder if I could water it down just enough so I could use a syringe to inject it to back fill those hard to reach places.
 
Back
Top