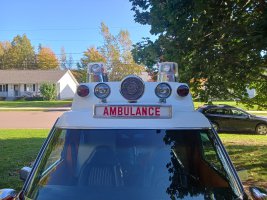
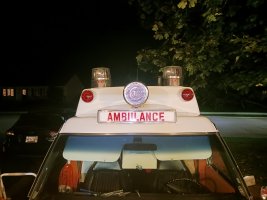
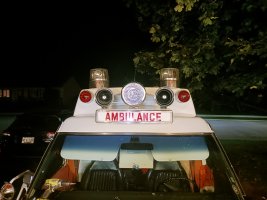
The CJ184 are off, replaced by a pair of 184Hs (Thanks Jeremy L).
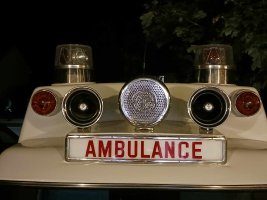
This was a nerve wrecking experience. The skirts for both these 184Hs were original and had both lights tilted outbound so I had to trim them so that they would sit level on the car. I never done this, but there was no better time than this afternoon to get learning.
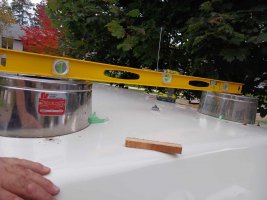
First I made sure that the car was leveled from side to side. I could not rely on the roof for this since the middle of the roof is slightly higher than the sides so I used the tunnel lights as a reference. I did not worry about having the car leveled from front to back since the roof is flat in this direction.
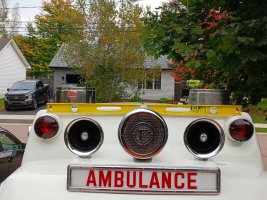
I had one new skirt and for the second one, I took the light mechanism out of it so it was easier to handle. I made a template to line-up the new mounting holes through the roof, measured everything twice and went to town with the drill. I wanted the mounting bolts in place when I leveled the skirts so that the skirts would stay in place lined-up properly. I did not bolt them down.
Because I have to remove the lights to park the car in the garage I moved them back 2 1/2 from where the CJ184 were mounted. This way I will have full access to the three mounting bolts that I secure with wing nuts for easy installation and removal.
In order to level the skirts, the passenger side one had to be lifted 5/8" and the driver side one four popsicle stick thick.
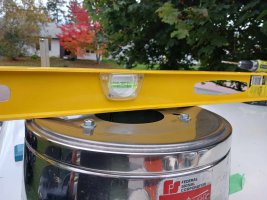
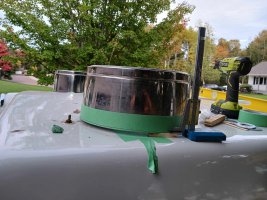
I warped the bottom of the skirts with masking tape and used this nifty tool to scribe the cut line around each skirts.
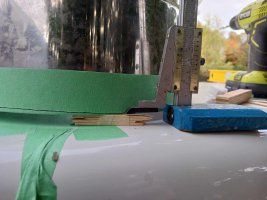
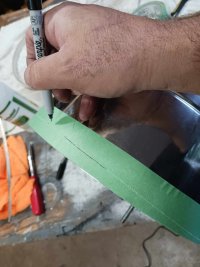
Once the scribe line was complete with the tool, I marked it with a sharpy so that it was easier to see.
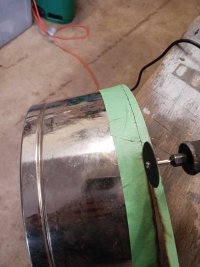
Next steep was to take the Dremel tool with a cutting blade and follow the line.
As you can see, one skirt required a little mor trimming than the other.
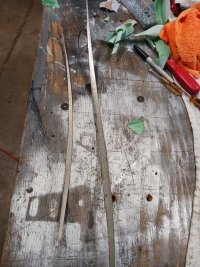
At the end, both skirts ended up to be perfect!
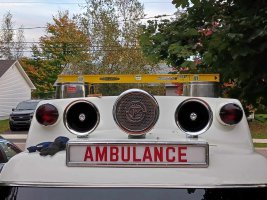
I reassembled both lights, wrapped the bottom gasket and voila! Job done.


