72 S&S Three-Way door questions

Aaah, that makes sense. I have the front half of the lower upholstery panel peeled forward. I'll remove it all the way tomorrow and attempt to unlock it. Thanks once again!

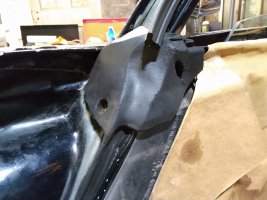
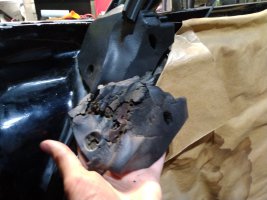
As I was searching for access I pulled the outer door cover off. I found the original door hinges welded shut to make the extended door! Pretty cool!PXL_20210426_171204406.jpg
 
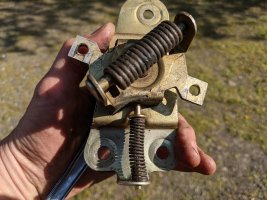
Its locked. There is still a lock on the striker plate. It can drop in a half way spot making the door inoperative. If you have the trim pad off reach in find the tab for the out side lock and move it. If the door doesn't open move it the other way.
I got the door working again. It was more of a hastle removing the upholstery panels. I had to remove the handle assembly, three bolts and two clips to get to the pin. Somehow the pin got slightly bent and wouldn't allow the handle to turn. I straighted the pin out then managed to shoot the spring off to parts unknown in the garage for about 20 minutes! While it was out I sprayed a little oil in the mechanism and added some grease to the pin. I also greased the locking pins too. It seems to move more precise and can feel each of the three handle positions clearly.PXL_20210427_210417745.jpg
 
I finally ordered my weather stripping tonight. Talk about procrastinating! I ended up ordering the front door seals for a 72 four door Deville to redo the lower half of my front doors. The doors have the pin holes and it appears the front sealing area around the windshield edge will seal better than just an extruded piece.
I looked at the seals on a 72 two door Deville and it appears S&S may have done something similar to what I'm thinking. Where the seal is split "V" for the windows to move up and down it looks like that is where the extruded piece was ran and trimmed down originally. The Deville seal, according to Steele Rubber appears to be very close in length to what I measured around to the door lock. I think I'll be able to start at the front corner and work my way around the lower half of the front door first. Then work along the bottom of the door, up the back then splice where needed at the front. At least that's the game plan in my head for now!

I also ordered 66 ft of the 1" extrusion for the tops of the front doors, around the rear side doors, and the rear door. I calculated needing 52.5 feet total, so that should give me a good cushion for screw ups. I also ordered the hood to cowl weather stripping. $835 later I'm hoping this will help eliminate a lot of the road hiss! I'm hoping fixing the rear door locking plates will eliminate a lot of the rattle once the seals are fixed! Fingers crossed!

I just started my 10 day stretch at work so it will be a bit until I have enough time to really get started on this.
 
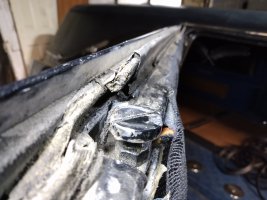
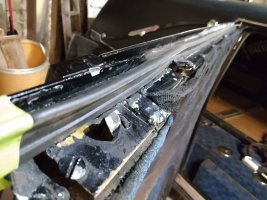
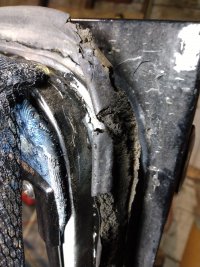
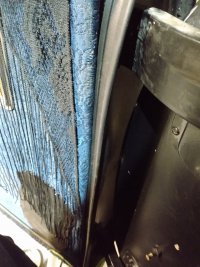
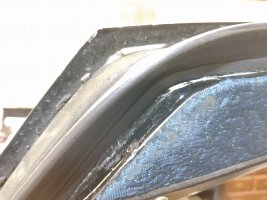
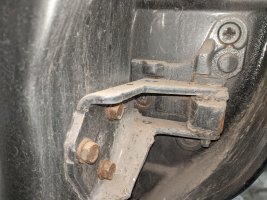
I have has good luck at cutting 2 sections and glue them with crazy glue to make a corner section if you need a 90 for a edge of a door. I glue that section in first and then glue the end of the run of weather strip to it and then glue to the door a foot or do at a time. Here is a pic of the glue i use , have had good luck with it. The corner pic was a test section , and was not used as with little experience I got better at making the corners and almost invisible when done correctly . If you also mark the outside edge of the old weather-stripping before you take it off , that gives you a glue line to apply and less clean up on the door. I found this at hobby lobby makes pretty good cuts . The stops are to adjust the closing tension on the doors. You need good weather-stripping before adjusting those.

View attachment 44934View attachment 44935View attachment 44936
I'm going to try that bond for the incoming truck project. The seals are pretty bad and need replacing. Need to finish installing the headache rack and bakflip bed cover on the truck before I can clear the garage.
 
I'm finally like Willie Nelson, On the road again. I put about 60 miles or so on her since getting her back. I had the coach at my friend's garage since my garage isn't set up to do the exhaust and front shocks and weld latches.

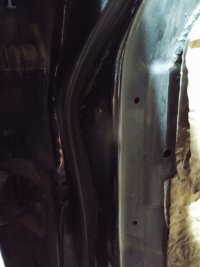
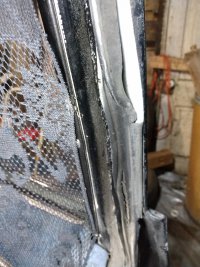
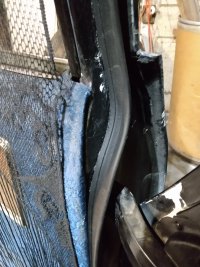
Anyway, I finally started replacing the bad weatherstripping on the passenger side. The old stuff is/was a complete mess. It all crumbles to nothing. The only real difference between what I got from Steele Rubber and the factory stuff is that I ordered without the pins.

Lots of measuring, cleaning, scraping, more cleaning and prepping. I watched a few tutorials from Steele Rubber first. Their method of thin line of sealant to both parts and allow them to set, followed by another thin strip on one part has been working really well! I would do this on a long flat run, slow it to set, work on another door, then work around a bend. This video from Steele Rubber is quick and to the point and what has been working for me. Weatherstripping tutorial

I managed to get most of the front door complete. The front corner of the window needs to be glued and fit. I'm waiting on the rest of the sealant to dry. Before working that area. The rear door I have completed across the top, and down the rear of the door. I need to finish the very ends of that seal. I still need to add the weatherstripping to the bottom of the door. I followed all the holes from the original pin holes. I haven't closed the doors yet so I'm really hoping it's a one and done with no major issues.

Here are a few before and after pictures. I'm thinking this should make a pretty big difference with road hiss and a few leaky areas from rain and car washes. Since this is my first attempt I'm hoping the driver's doors come out cleaner than these. I'm hoping to get these two doors done tomorrow and started on the other two after I know these are good. I cold have been a little neater with the glue, but this is my first attempt and will hopefully be better for the other side.IMG_20210927_130201726.jpgIMG_20210927_130233318.jpgIMG_20210926_214155628.jpgIMG_20210927_130027220.jpgIMG_20210927_130245071.jpgIMG_20210926_214234851.jpgIMG_20210926_214221190.jpgIMG_20210927_130043241.jpgIMG_20210927_130052486.jpgIMG_20210927_130259850.jpg
 
Back
Top