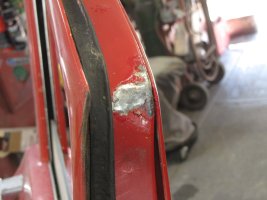
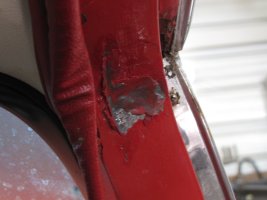
Will we are home. So time to start on Nicks Pinner got one fender down to bare. the carb was overhauled while i was gone. Its back one and you can start it now with out flooding it. One float was set to hjgh. It sounds healthy. I'm going to try to master Windows 11 and get the pictures up on the photo site. Just wish they would learn how to make things better rather the just different. But we can put a few of interest here.
You are using an out of date browser. It may not display this or other websites correctly.
You should upgrade or use an alternative browser.
You should upgrade or use an alternative browser.
63 Pinner Hightop
- Thread starter John ED Renstrom
- Start date
getting it I get the divider for the day in but they are here now https://photobucket.com/bucket/5d8a...f6/album/a67f3652-68d9-4ea4-9c75-9df95e6a75d9
Jean-Marc Dugas
PCS Member
Looks like we need a paid subscription to view photobucket now 
I'll check the sight make sure its still public.
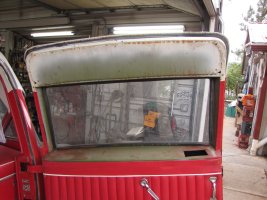
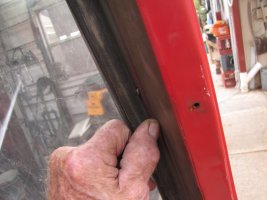
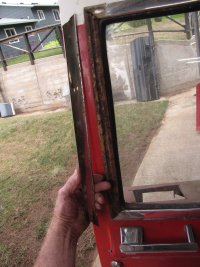
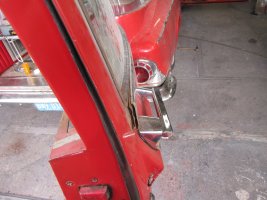
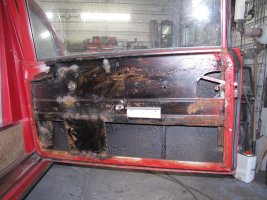
We got a start on the car this week taking it apart. So vary intresteding construction. I remember Jack talking about a man they had working for that that could construct panels. This car is a great example of his handy work. The center stretch on my Pinner is another. The door shell has been stretched and a new skin fabricated. The evidence is apparent with the trim pad off. Then when you get to looking close the pinch welds of the skin are wavy. Factory stamped are smooth. I was able to open up the gap agents the windsheld. But as in hand built things there is no more movement on the bottom hinge any more to the rear.
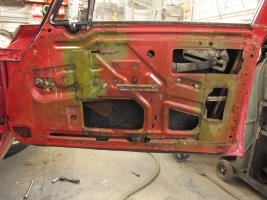
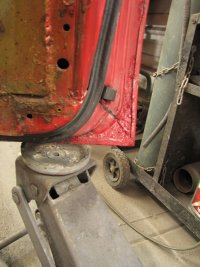
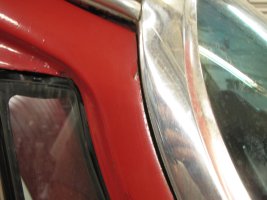


If you need more gap, you can grind the edge down. If you need an additional 1/8", then you grind off 1/4" and then weld the edge and round off the weld and smooth it. It looks like a factory edge when you are done, and no more gap problem. We used to do it on a regular basis when replacing a factory door with a door from another car since the factory didn't hold to the specifications and tolerances back then.
So far this car has come apart rather easily. For the amount of trim on it it has been stright forward to remove. The only confusion is I was in the 8th grade when it was new. By the time I started working they were few few and far between out here so I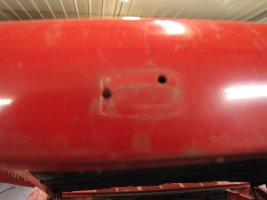
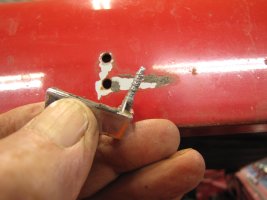
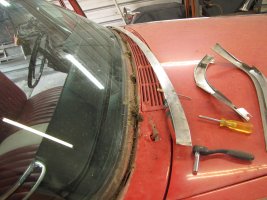
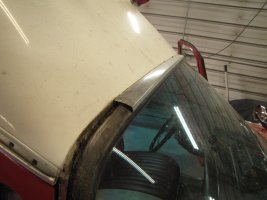
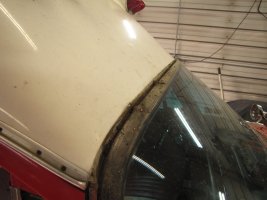
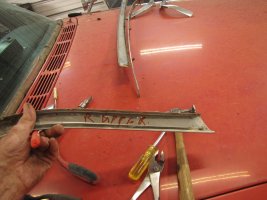
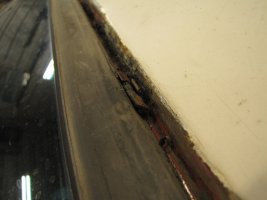 never took one apart. But you got to learn some time. It has a perfect trap under the surround molding you could have planted a truck garden under the molding. But it all came off from the top with snap in clips and key screws to hold it down. The only surprise was some on with a power tool spun the speed nut on the L and chewed up the stud i couldn't figure out why they taped off the letters to do the repaint. So if anyone knows were we can get another L let me know.


 never took one apart. But you got to learn some time. It has a perfect trap under the surround molding you could have planted a truck garden under the molding. But it all came off from the top with snap in clips and key screws to hold it down. The only surprise was some on with a power tool spun the speed nut on the L and chewed up the stud i couldn't figure out why they taped off the letters to do the repaint. So if anyone knows were we can get another L let me know.
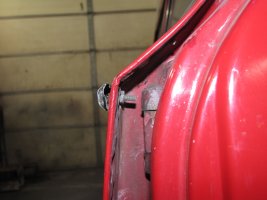
Hit a first first snag today. The center door molding is T bolted front and rear. Not the plastic squares but wire spring clips in the center. I have no idea who put it together. I won't accuse Pinner unless the other side is the same. But the nut recessed into the door frame with a stud to long to get a socket on and two shallow for a open end wrench is not fun to get off. But we did.


Jean-Marc Dugas
PCS Member
Ed,
Do you have a picture of the car?
Do you have a picture of the car?
Ed,
Do you have a picture of the car?
Pinner Returns Home..
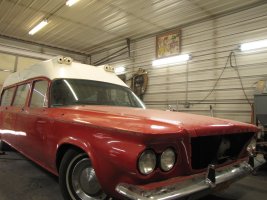
Never posted these pictures...... just plain forgot.. Taken last year.. I had backed it into the stall where it resided all the time that it was in service. It was a tight fit given the length of the car, and the depth of the building. It is an old building that was added onto as the town grew.
professionalcarsociety.org
Jean-Marc Dugas
PCS Member
Thanks Paul. Great looking car!
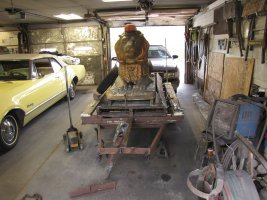
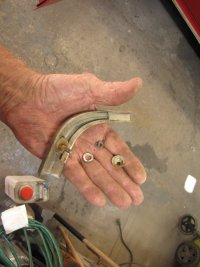
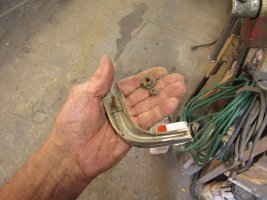
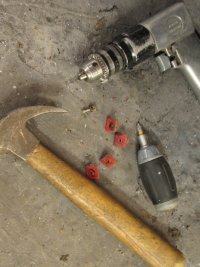
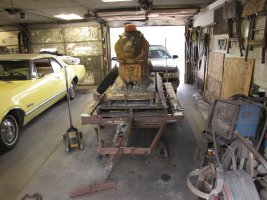
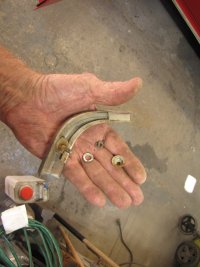
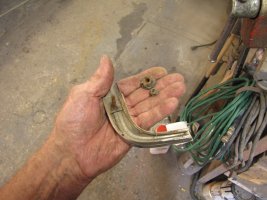
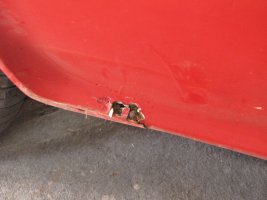
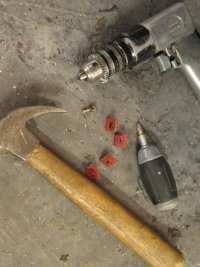
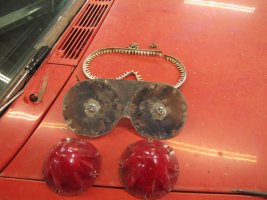
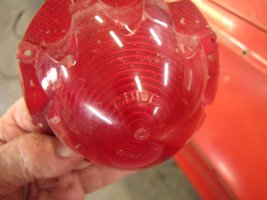
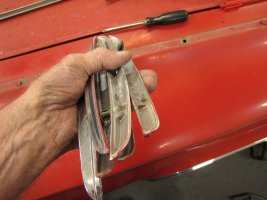
We're doing a couple of things right now, broke the tongue off the lion's trailer, so got to get it fixed and out of my way. But still get something done on the Pinner. Learned how to make corner lights by hand today out of scraps. Kind of neat how they did this. Uncover a 50-piece size rust hole that someone just filled in with mud. It didn't last. But the right side is striped now. Or will be when I figure out how to get in to remove the taillight and get the t bold holding the quarter molding on. Found out I can drill the centers on the plastic clips and pull the blind ones out, but putting a screw in and pulling it with a Claw Hammer.


Philip Scanio
PCS Member / Super Site Supporter
ED, it's about time for that canary to fly!
The taillamps are held in with nuts on the threaded studs of the taillight assembly. You access them from inside the car. The right side can be accessed from the inside of the squad bench, but the left will require some removal of the soft trim inside the car. Seems like you are following in my footsteps as you take it apart. Hopefully, you won't have to redo any of the repairs that I made 15 years ago.
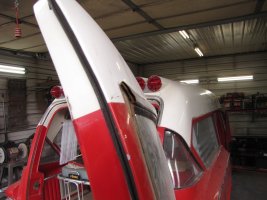
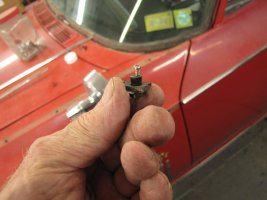
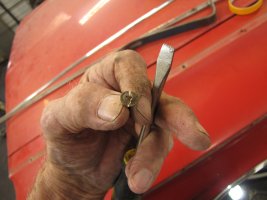
I want to take it out for a drive to test out the rebuilt carb before we have it where we can't. So, more trim off today. The paint is in bad shape around the tunnel lights, so we will need to strip them. Besides, no sense in having two shades of white on them. I can't believe they taped off the beacon ray when they painted the top, but they did. If you can't get one of the worn-out out rusty Philips screws out, make it a slotted one. The drill trick works well on the hidden clips. Saved two more of them. Out of a dozen, the chrome lowers only have one peg bad with electrolytes. That alone is great.
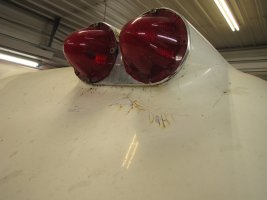
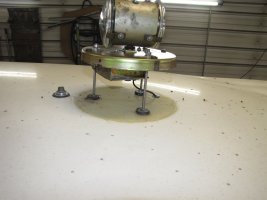


The shop that I had paint the roof didn't remove the beacon because they didn't know what was involved. I figured that no one would have noticed because you need a ladder just to wash or wax that roof. I was just lucky that I could find a shop willing to do any body work on it. If I remember correctly, they just gave it a light sanding and a quick coat of color to cover some bad spotting on the roof. It had a rough life before I acquired it, and I had to put in a lot of work to get it in good enough condition to take it to the Flint International Meet.
I had a lot of difficult-to-resolve issues with the car when I bought it, and I was fortunate to find a 1963 four-door sedan in a salvage yard, which allowed me to learn how to disassemble certain components and repair them before I began working on my car. As you delve into it further, I will start to recall what I had to do to resolve many of the issues. There are a few secrets that I will not divulge, and I will see if you or anyone else can figure out what they are.
I had a lot of difficult-to-resolve issues with the car when I bought it, and I was fortunate to find a 1963 four-door sedan in a salvage yard, which allowed me to learn how to disassemble certain components and repair them before I began working on my car. As you delve into it further, I will start to recall what I had to do to resolve many of the issues. There are a few secrets that I will not divulge, and I will see if you or anyone else can figure out what they are.
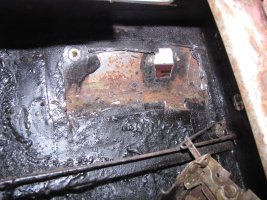
Bringing a neglected rig back to life is always a guessing game. What did the after market people do, what did the service do and in this case how did Chrysler put it togather at first. All a mystery to be reviled later. Our goal this go round is to get the bottom one color of red while repairing the rust have 5 doors that open and close and seal up. clean up the years of weathering on the top and send it home. Nick wants it back to what Pinner sold. But that flower print on the flooring i have never seen before. Know how Jack and the boys could source out things. what back room they found a small roll of left over linoleum is had to guess but i'm betting on 40s or early 50s pattern. But it is damaged and needs to go.
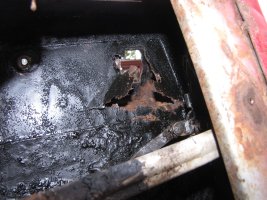
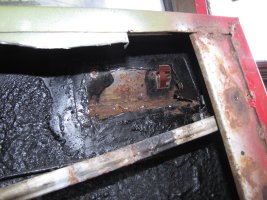
Cut a piece out from under the squad bench and patch it. 


way more damage than that, but it's an idea. Came around to the back door. Took a bit, but I figured out how the trim was put on. What yard did they get it out of had to be full of old stuff. It's a screw on strip, and the molding pops over it. The screws on the top piece were rusted off in the center, making it a little difficult to get the stainless piece off. But working it from both ends got it done. The bump for the handle was what I thought it was; they welded up a tent shape on the bench and tacked it to the door. a little mud later, it looks like it was pressed in place. The problem was with fill the cutout in leaving a hole for the trip rod. That left the inside with raw steel and a natural trap. The handle leaked a little, and it filled up rusting threw.. With no drain in the door, it worked its way i to the pinch weld and came threw there. The undercoating sprayed in there is hard and cracked, letting water get trapped under it, and the bottom is pin-holed. Under the latch. Other than that, it is sound.