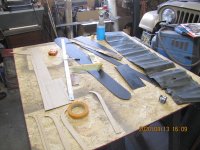
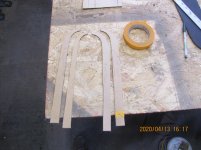
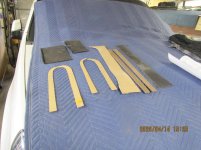
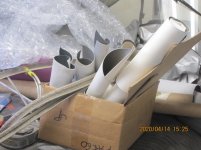
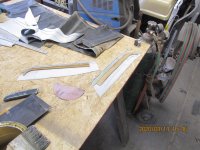
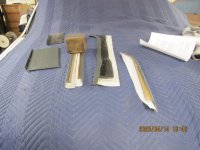
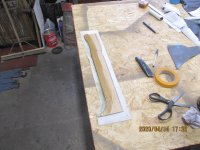
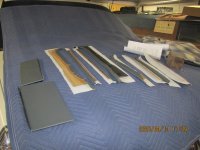
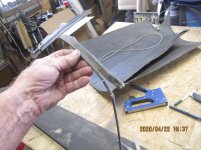
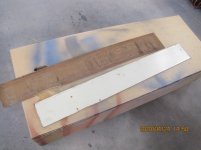
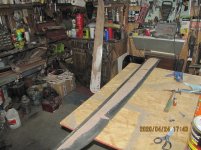
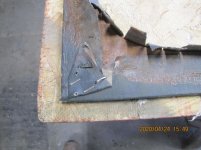
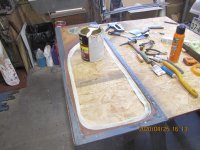
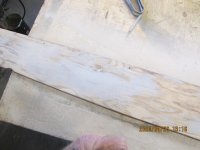
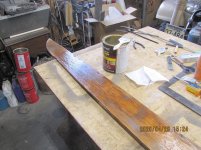
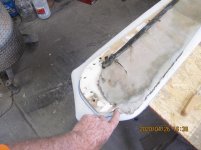
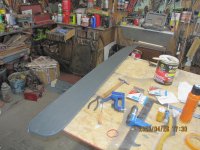
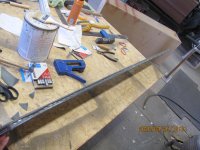
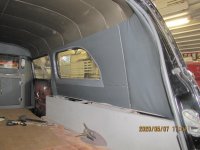
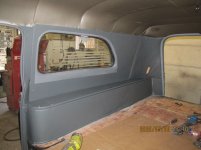
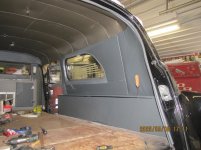
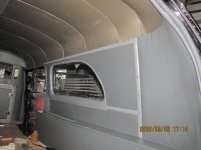
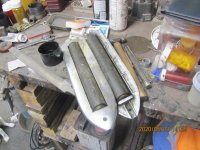
Got the mounts. Just want to put a ring around the wire hole to finish it off. Forgot about your stash. Darn payed them already for them to.
You are using an out of date browser. It may not display this or other websites correctly.
You should upgrade or use an alternative browser.
You should upgrade or use an alternative browser.
caution slow man at work
- Thread starter John ED Renstrom
- Start date
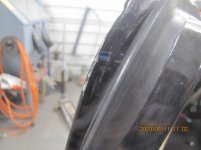
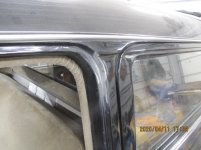
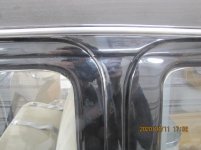
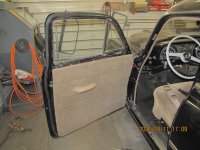
comes a time when you just got to say it not working and redo things. today was that day. the drivers door is tight in the hole on this car. gm tolerance is something like a 1/16 inch from center line so if you get a rig that has all the parts on the tight side there is not a lot of room. we have been fighting this left front door between the a and b pillars since we put it together. adjust here and there and get it to work but it's a trick to get the latch and seal at the same time. armbruster did a real slop job of lead work on this car. we have straighten out a lot of it but ended up with everything lined up but one corner. it was chewing the paint off both the door and the sill. so bit the bullet and carved out a 1/8 in of lead from the upper corner well spot it in later. then buy the way see that crease across the top of the door across the b pillar and the center door. Economy doesn't have it. Barnette has it one the front door and half the pillar National doesn't have it and there door corners are square. the top of the doors in the center on this car were made from the tops of 4 front doors cut and spliced together.
Attachments
Last edited:
Just wait till the Quality Control group show up in your garage with the micrometer, and the paint depth gauges to start to do a complete examination of your work! You will be redoing the entire car for imperfections that really don't exist except in your own mind, as you know this car better than anyone else that will ever looks at it. To say that it is perfect in every way is an understatement. It was a production vehicle, and never intended to be the show piece that you have created. You have made great progress on what originally was a difficult task to bring back from years of neglect and abuse.. It is now a work of perfection! :thumbsup: :thumbsup: :thumbsup:
It is put togather like a high school shop class project. The crew on the right was better then the crew on the left. The problem is of course that this B pillar is off about 1/4 in forward. The good news is the center door doesn't rub. These small trucks like early vans we built as utility rigs. Quality control was a different standard then the automobile line. Don't worry there is plenty for the nite pickers to point out.
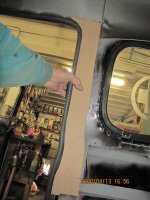
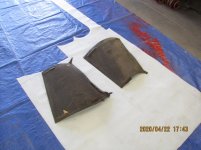
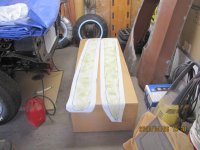
back into cut and fit. most of this interior that had the cardboard wrap was will rotted away. I tried to keep at least one side of everything to have a pattern. the material we kept all. but it really is not a good pattern for a lot of things. fin example of this is the upper center door posts. I got lucky and the best one was the largest one.so we cut 4 of them to it. then carried then in lined up to the opening and traces around the over hang. same for the c pillar. it was in 3 pieces. so it trim and fit on it and test to both sides. we can wrap them today. all these pieces were nailed on. I would still like to see that gun that set them
Attachments
spent the afternoon cutting the rest of the cardboard and getting t covered enough to get installed in the car. working a mirror image is confusing so always mark the pieces they same way inside or out makes no difference as long as they are marked the same and you understand
Attachments
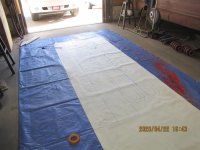
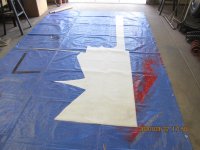
all things in time and yesterday it was time for the big stuff to get cut out. they say things come in three's. I hop so. we went to open the big door behind the 64 and the shop crane caught the foot tab on the out side so it blew the plastic transmission in the motor head. one door down went to go out the back door and the latch broke. got out into the garage and the door behind the Yukon had the tension spring brake. lucked out hardware store is open found one square shank latch hanging there. got the house door fixed. remove the tension spring for one of the others doors as none one in town had the center spring type in stock. that will be a trip to rapid to get. but now we have that garage door working. so quick while I could get the car out we laid out the material on the floor and cut out all the big pieces to finish the back interior of the 53. my idea of cut and past. we will have to make up the piping for the wheels will tops but that is just a fold over thing. next it get it in then the flooring goes in and we have a car
Attachments
I personally do not see how you have the patience to do what you do!
Just one screw at a time. It's just taking longer to run them down lately. I like the car it doesn't tell what to do or wine if i don't do it fast enough. But it sure cobbles up money.
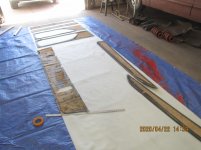
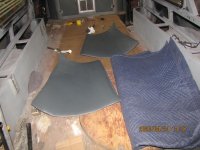
the day final arrived I has glued my last piece onto a panel. will not really I still have to put the material on the wheels wells but it goes on last. just before the flooring. I did not thing I would get to the point I can use up the flooring I got from mike way back when . it been rolled up in the garage some 7 years now. the cord worked out will but that is a lot of staples. we get this stuff in and it's buff trim and put that in place.. we still need to cover the tops of the seats with the gray but it will be nice to get this stuff back in the car and get the space back it takes up. remember I forgot the anti rattle strip on the inside glass trim so thought I had better get them dome also. we had just a little water damage on the wheels well tops so use some of the structural adhesive to repair that . it about the only thing that is water prof that you can staple threw.
going to be one of those day forgot to hit up load. getting down in the glue pot. we have used up a gallon now.
Attachments
and the last pieces. the glue is a two part epoxy that you can work. strange this was it was damaged front on one and rear on the other. but we got it sanded down and then filled the missing know hole and the dry cracks with a little body filler. work that down and cover it up add the bead to fill the gap . glad to get this far. of course before you cover thing over it best to find all the screw holes and get them drilled out.
Attachments
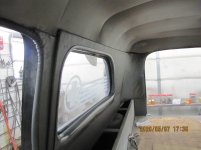
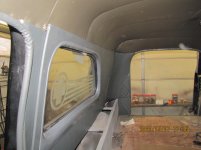
I thought that other cars had a harder interior. but this one tops them all I have done. put together rather strange. then the different material changes things. so things are a lot tighter about the only none original things is the addition of the wind lacing around the rear door. the panels around the quarter glass and below it do not have a screw into the body they float. the glass surround trim holds the upper one and the lower one I had to hammer in place it will have a strip up the at the top and dividing the rear panel but not threw then screws will go in the crack. so we all most have the right side done. spent a lot of time finding holes. but right now the jury is out on the headliner color. it is a metallic so the flash runs it back as gold. but it is a gray-tan color but getting there we are up to here on it
Attachments
getting closet to getting this side done. i have do idea what happens to screws. but I cant find enough slotted ones to do both sides so we got more coming for some place in NY. the oval head slotted ones are not a walk in and grab a box kind if thing.
we got to get the rollers for the 64 re-plated. so we are doing a couple a day. for some reason there are 12 of them. most cars i have seen were 8. but it may be to clear the end gate.
we got to get the rollers for the 64 re-plated. so we are doing a couple a day. for some reason there are 12 of them. most cars i have seen were 8. but it may be to clear the end gate.
Attachments
Those look like aluminum castings. Couldn't you just buff them to a high luster, and put a coat of wax on them to seal the aluminum from tarnishing again? If they are aluminum, you could have them polished, brite dipped, and anodized, like what GM did with the aluminum grilles, moldings, etc.. There is a place in Michigan that still does the old method of anodizing.
Peter Grave - Deceased - 1938 - 2022
PCS Member
Good idea I had a polished aluminum frame on my Kawasaki ZX-11 had the bike for five years All I ever did to keep it shiny was an occasional polish with Mothers polish. Polished right looked like it was chromed.
Yes i could but first i would have to stripe the poor quality chrome off of them. I have no ida what Jack got these out of but it looks like Korean chrome on them. The same Pits and thin look as the 53 had. I can't tell if its aluminium or pot. You get the rollers out they are still quite heavy my guess is pot metal.
If they were pot metal, they would have shown cracking by now, at least in one of the 12. My guess is aluminum. Try polishing one and see what it looks like. They did chrome plate aluminum, but it doesn't stick very well, and that is probably why it is coming off. If it is truly die cast, it is going to be very expensive to have plated. Having the door handles plated on my 1969 cost $75 each, and you can remember when you painted that car. It was 7 years ago, when we were both younger! I'll bet that it is a lot more today...
That may not be plating.
A process called LusterCoat was developed here in the 60s that could coat metal onto anything from glass to metal by vaporizing metal strips inside a vacuum chamber.
The vapor was electrically attracted to the object being coated by a DC charge, similar to an old TV picture tube attracting and retaining dust. An adhesion coating that was electrically conductive was sprayed onto the objects before they went into the chamber.
LusterCoat became a large local business in Churchville NY "chroming" parts for GM and other car manufacturers thanks to cheap municipal electric. Company was sold to people with bank backing and went under. Buildings sat empty for about 30 years after being declared a HazMat site leaving bankers wishing they never heard of LusterCoat. Lot of Lawyers made a lot of money off the deal.
We all ready hit one on the underside with a roll lock there was the base and copper you could not even see the nickel. There is a lot of stright line scratches rather deep. So they are soft but the broken one shows a vary poor casting a lot of air pockets. And i feel that they are to heavy for aluminum so most likely pot. But cleaning the chrome off the broken one and attempting to polish it will be the tattle tail. But right now we are focused on the interior of the 53 just going to strip them down right now.


