You are using an out of date browser. It may not display this or other websites correctly.
You should upgrade or use an alternative browser.
You should upgrade or use an alternative browser.
finely
- Thread starter John ED Renstrom
- Start date
Philip Scanio
PCS Member / Super Site Supporter
ED, why grey primer instead of red?
I like to mix my colors up this way i can tell when I cut threw. to a different layer. It's all the same brand of primer. The red has a coarser filler in in it and its like sanding rocks. The gray is a finer and it does not fill as much. I normaly mix them 50/50 to get the best of both worlds but this time i added a gt of gray to the mix to get a smoother coat for my finish sanding. As I'll be painting black my base color will not make a difference. Each of us do things that make no since to others. But my eyes being what they are i find the color contrasts is easier to work with.
Philip Scanio
PCS Member / Super Site Supporter
Thanks. I always learn from you.
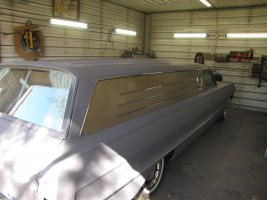
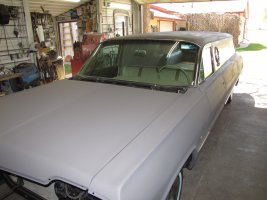
we have let the primer dry out while we cut in the undersides of the car. time to start finish sanding. this is what we were talking about with different colors. we are using a 6 inch disk with 400 grit paper to finish sand. cut the air down so that the tool will just pow the disk. and us a vary light presser while we guide it across the hood. if we have a dark rough spot is low. if its high we cut int the under layer of primer. in this case we cut threw to the layer under the dark notice the dark ring. there is the brace under the hood in this spot. which is putting a little presser on the skin. but we have gotten a clear 400 sand scratch across the spot with out cutting threw to steel so we will be flat here. the different coolers will give you the warning were your at. I know I primed over the bare with red. so in theory I could go more if I needed to but all we need a a scratch all the way across. the truth is we all ready rough blocked this spot to here all we did was expose it again with a finer scratch. but we could tell we were there.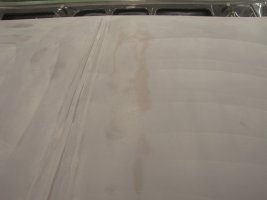

Isn't 400 too coarse for the final sanding? We used to use 600 then 800 and wipe it down with Prep Sol before painting. We didn't want sanding scratches to show through the paint.
400 for a acrylic enamel is good. The keep changing there paint formula to keep up with Calf regulations. In the good old days they would print instructions on there labels now all it says is for professional use only. What ever that means.


