Superior 54XL Wiring Updates

Jean-Marc Dugas

PCS Member
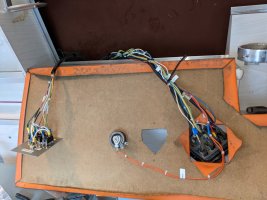
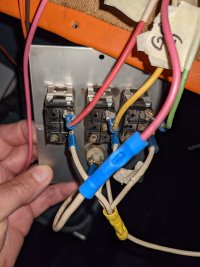
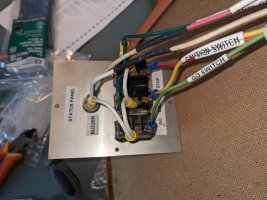
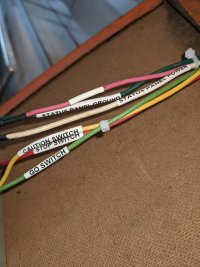
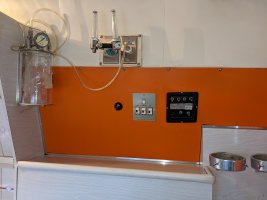
Had a productive weekend working my way through some of the electrical components of the car. I focused on the area located at the head of the stretcher where the two switch panels are located and where I also found 4 loose wires. I tidied up the wires on each of the panels and was able to trace back one of the loose wires and connect it back to one of the switch panels.Action Wall Wiring 01.jpgAction Wall Wiring 02.jpgAction Wall Wiring 03.jpgAction Wall Wiring 04.jpgAction Wall Wiring 05.jpgAction Wall Wiring 06.jpgAction Wall Wiring 01.jpgAction Wall Wiring 02.jpgAction Wall Wiring 03.jpgAction Wall Wiring 04.jpgAction Wall Wiring 05.jpgAction Wall Wiring 06.jpg
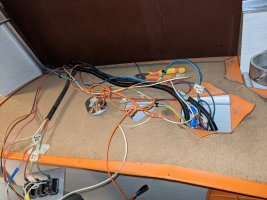
 
I had a similar wiring issue with my 1978 Superior and 1969 Miller Meteor, and I removed the many extra lengths of wires and put new connectors on the ends to neaten the switch panel compartment. It was like a tangled mess of different color spaghettis when I started, and now you can make some sense of order out of the jumble. I used wire ties to join the wires together that all went to a particular switch, but your method of identification is far superior. I like your method of identifying the individual wires, and was wondering how you printed the labels. Unfortunately, months later you forget what wire when were, and you have to decipher the wiring all over again. Your labeling makes this a much easier task.
 
Back
Top