John ED Renstrom
PCS Member
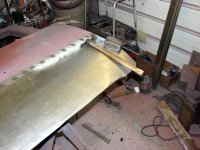
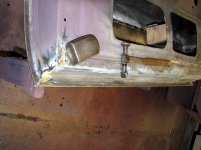
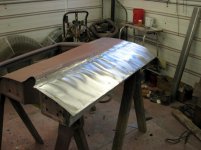
I thought that maybe the process of making a door skin would be of interest.
the impossible to find, expensive to buy, high cost of shipping and still having to make repairs when you finally get it on a 50 some year old used part make fixing things a lot more practical then replacing them on a harder to find parts for car.
so with this car rotted threw on the lower reaches all round we decided to replace the lower portions of the doors. time and money not begin the push we don't need all the latest hooks to catch more body men tools. besides we are using 20 Gage steel and most of that stuff wont work it. so it's by hand we go just like we did back in 67 when I first learned to do one.
this one we had to replace the lower door frame also. it is a testimony to Eureka's construction that when we got the car you could push each door shut with a finger. even in the shape they were in. fooled me I was thinking only a small patch or two when I first look at it sitting in the weeds
Attachments
-
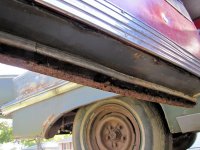 01 2011-10-21 our fitst look.jpg91.7 KB · Views: 282
 -
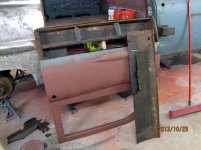 02 door off and rusty portion of skin removed. notice old drill pull and back fill repair.jpg87.9 KB · Views: 299
 -
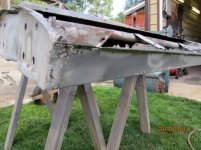 03 what is left after cleaning up with sad blaster.jpg95.1 KB · Views: 296
 -
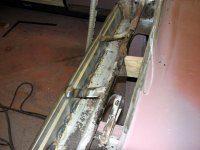 04 replacing the bottom door frame.jpg92.2 KB · Views: 291
 -
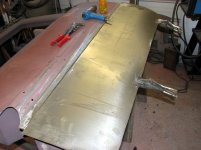 06 fitting new panel.jpg78.4 KB · Views: 288
 -
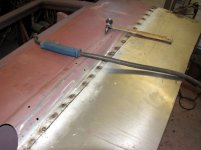 07 panel spot wilded in place.jpg70.7 KB · Views: 296
 -
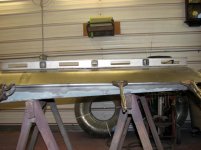 08 spot check. small dip in the center after spot welding.jpg78.7 KB · Views: 285
 -
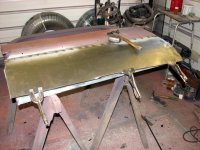 09 forming the pinch weld.jpg93.4 KB · Views: 294


