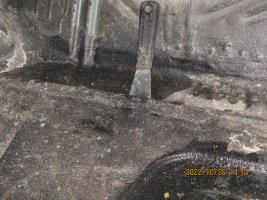
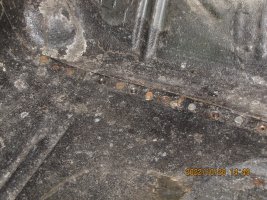
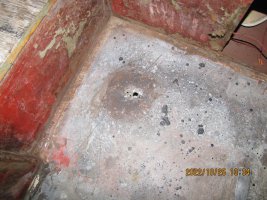
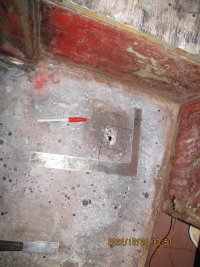
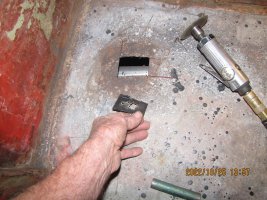
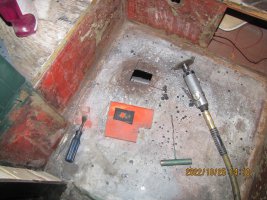
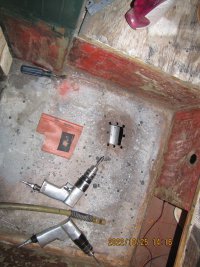
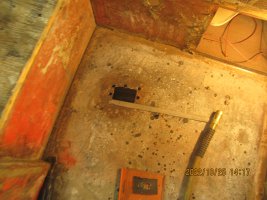
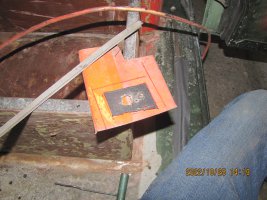
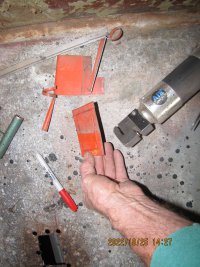
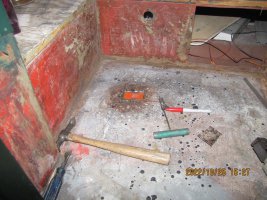
as most of you know I have been working on a 70 CB for Tim. so one time in our almost daily conversations about the progress on the car. Tim asked me why I did not post a how-to. on some of these things so in as many as it takes, I'm going to show you how I like to make my patches in the rust out. the same principle applies to replacement panels new or used. big or small. the Idea is to get your panel watertight using the smallest amount of filler possible. when possible, hiding the seam behind a molding is always best. but in this case, it's in the middle of a flat floor and all we need is to not have a bad high or low spot that will show threw the flooring. so, to start we mark off the amount of metal we want to remove. it is best to use Square corners and Straight lines if you can. you chop them out by hand you get what you get by you can try. then cut it out. then drill around the hole you cut out in the piece you going to have on top. the floor here has to be made out of 16 gauge you want to replace it with the same or as close as possible. use your cut-out piece as a pattern. in this case, we are using a leftover from Rons 70 suburban. I have a marking piece for how much bigger you need to cover the holes you drilled. then cut it out I have an air sizer that doesn't distort. use the flange tool to make your notch. then it's test fit time. how you hold it is a lot with where you're at. but trust me if you are using a wire feed and you ask your wife to hold it with a long screwdriver be prepared for a drop and run the first arc you strike. one other way is to drill a hole in the center using a screw and vice grips to hold the piece in place. you may want to drill a few small holes and pop rivet it on first. it all depends on the difficulty of where you're at. in this case, we used the help from below. next page
Page 2
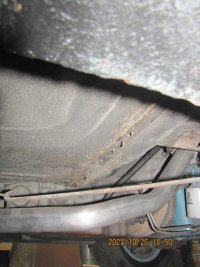
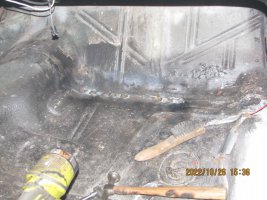
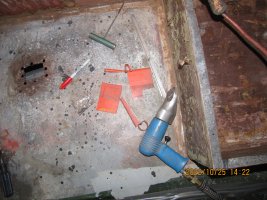
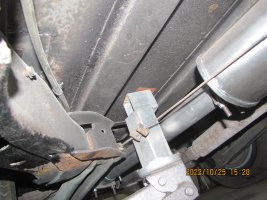
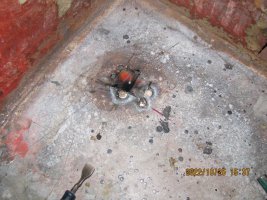
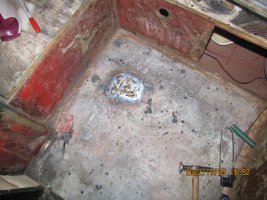
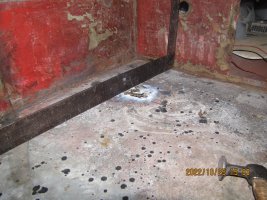
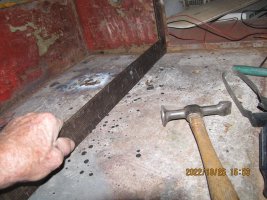
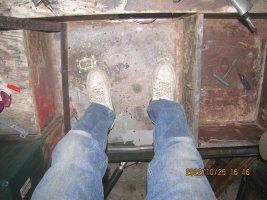
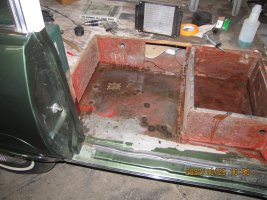
OK, we left off with the patch being held up from underneath. in this case, we used the floor jack and some square tubing left over from building the garage. I have used every jack on the market. looking back should have done that rather than Kandy on Robert's Criterion. then when your patch is in place you start filling the holes around the that you drilled, then around the center. I like to use brass on things like this. for me it's much easier to work with. but then I have been doing it for 57 years. the two men that I learned how were old body men when I was just a 16-year-old kid. it is a matter of brazing and hammering you can end up with a patch that has very little filler needed to make it smooth. is waterproof and will never rust. there was a factory oil can type of clicking in the floor over by the door we took out. so, the test was to walk around on it. no movement and no woop-woop. good to cover over. the last thing we did was blow the floor underneath to make sure the fire was out and pour the rust converter on it. tomorrow we will undercoat the patch and wash down the converter. then prime the floor and we are ready to put the interior back in.


